Workshop at the Ranch – January 2003 – Light Paintings
![]() A Light Painting is simply a photograph taken with a timed exposure using a mobile, constant light source to illuminate the scene.
A Light Painting is simply a photograph taken with a timed exposure using a mobile, constant light source to illuminate the scene.
The light painting technique creates a bold, dramatic style of lighting far different from conventional strobes. Originally I used light painting primarily for small product shoots and still lifes, but found that the technique could be modified for use outdoors and even with live subjects.
The photograph is taken in almost complete darkness. Total control over exposure is essential. While the shutter is open, a mobile light source is used to illuminate only those objects or subjects chosen to create a complete picture.
Sound impossible? Here is an example:
What I will use:
|
Camera:
|
Nikon D100 (Great file size, Noise reduction mode during timed exposures, Affordable) |
|
Lens:
|
Nikkor 17-35mm AF |
|
Tripod:
|
Bogen (Any sturdy tripod will work, but camera movement elimination is essential) |
|
Light Source:
|
Calumet’s “Hose Master” Mobile Light Source |
|
Exposure:
|
20 seconds @ f16, ISO 200 |
Before you begin:
Set up your scene, still life, etc. Place your camera at the desired position, check focus. Expose one frame of your scene without any illumination from your light source, and check the LCD for stray light that may have polluted the scene. I do not want random light from doors or windows. The image on the screen should be dark and well underexposed. As I create a Light Painting, I will use the LCD screen as my light meter to study where the light is recorded onto my image.
Now, lets make an image:
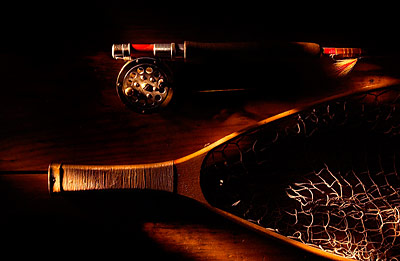
I want this picture of a 1953 fly rod and fishing net to have a soft, golden light feel. Light Painting is a perfect technique for this.
I open the shutter for the 20 second exposure.
|
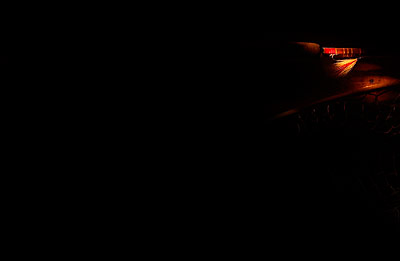
Step 1: I project 3 seconds of light onto the fly. I then take 2 seconds to reposition my light source. |
|
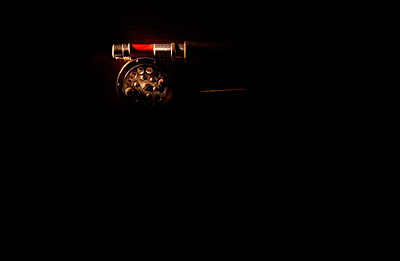
Step 2: I project 3 seconds on the reel. I then take 2 seconds to reposition my light source. |
|
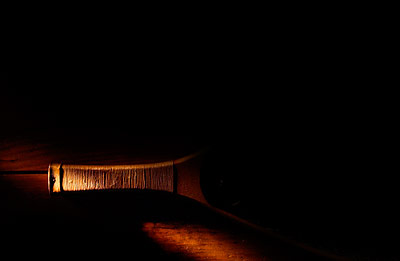
Step 3: I project 4 seconds on the handle. I then take 2 seconds to reposition my light source. |
|
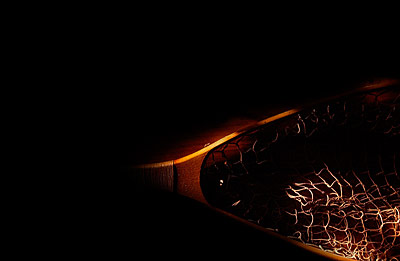
Step 4: I project 4 seconds on the net. The 20 seconds is up and the shutter closes. |
|
This is the image, one frame lasting 20 seconds with light illuminating the parts of the scene I want to reveal out of darkness. |
Examine each image using the LCD screen, Nikon’s histogram and “flashing highlights”. It will take several exposures to achieve the correct distance/ intensity of light and the total time/ time of exposure you illuminate each part of the picture.
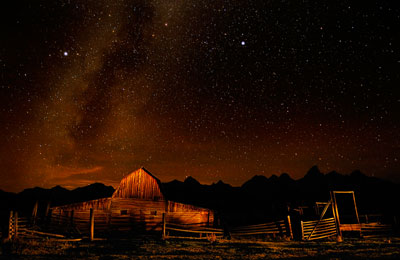 As you project the light you can achieve soft light and edges by moving the light source slightly, or a hard light and edges by holding the light source steady. I tend to like a soft look so I constantly move the light source in a small circular motion.
Here is an example outdoors of a 30 second exposure at f4 and ISO 400 using two 2 million candle power portable flood lamps and walking though nearly two acres of barn and coral. I set my exposure for the sky so as to reveal both a silhouette of the Tetons and the star field with the Big Dipper. This image was made one hour after sunset.
Light painting is not a technique mastered overnight. It will take many attempts and numerous hours to teach yourself how to achieve correct exposures and a stylistic look.


